1. Create or edit your email in the Emails tab.
Add your email content and include any custom variables you need to using the Liquid templating language. If you need to add any loops around data, you can use the Section element to define the content to loop through. Once you’re done with the design of your email, give it a name and then head over to Test & Deploy where you’ll configure more details.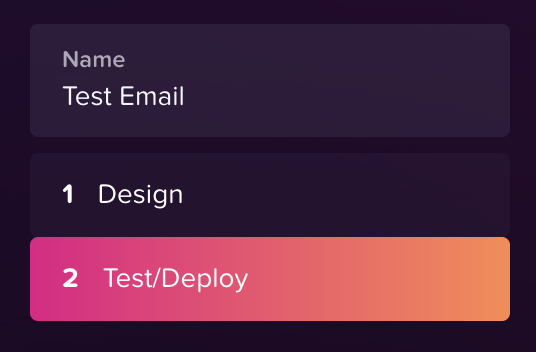
2. Add your sender details.
Configure your Sender Email, Sender Name, Subject Line, and Preview Text in Step 1 at the top. You can choose to override any of these values in your API call if you don’t want to define them in the platform. Keep in mind you can also use Liquid variables anywhere in these fields! Your sender email must match the domain you configured in Settings, otherwise your email may run the risk of landing in spam.3. Send test emails
If you have any custom Liquid variables you defined in your email, you can send a test email with these variables filled in by adding mock data to the table in Step 2. Then, add one or multiple (comma separated) email addresses in the “Send to” field to receive a test email of your design.4. Use the API to send from your codebase
Now that you’re ready for real users to receive your emails, you can use our API to send emails to all your individual recipients.Send email API
Complete API reference for parameters of our email sending endpoint.